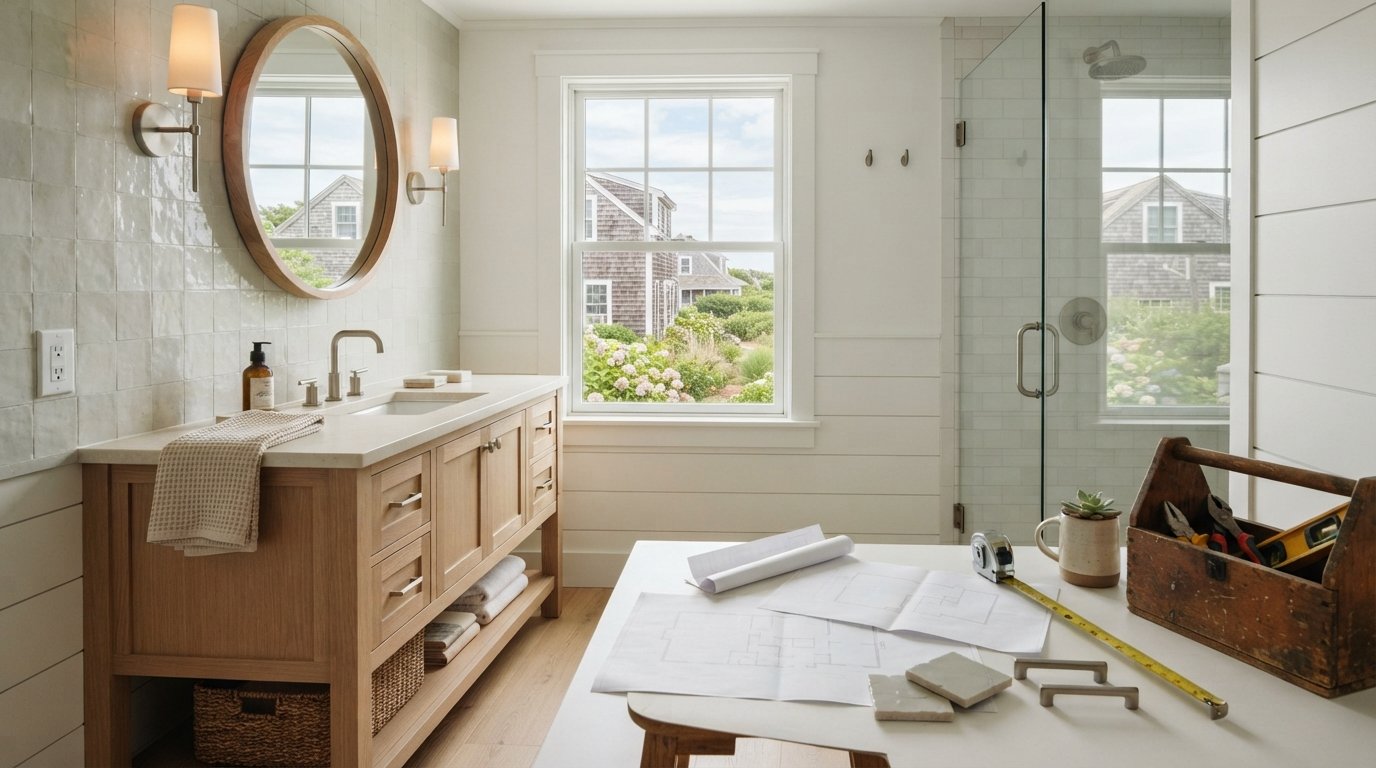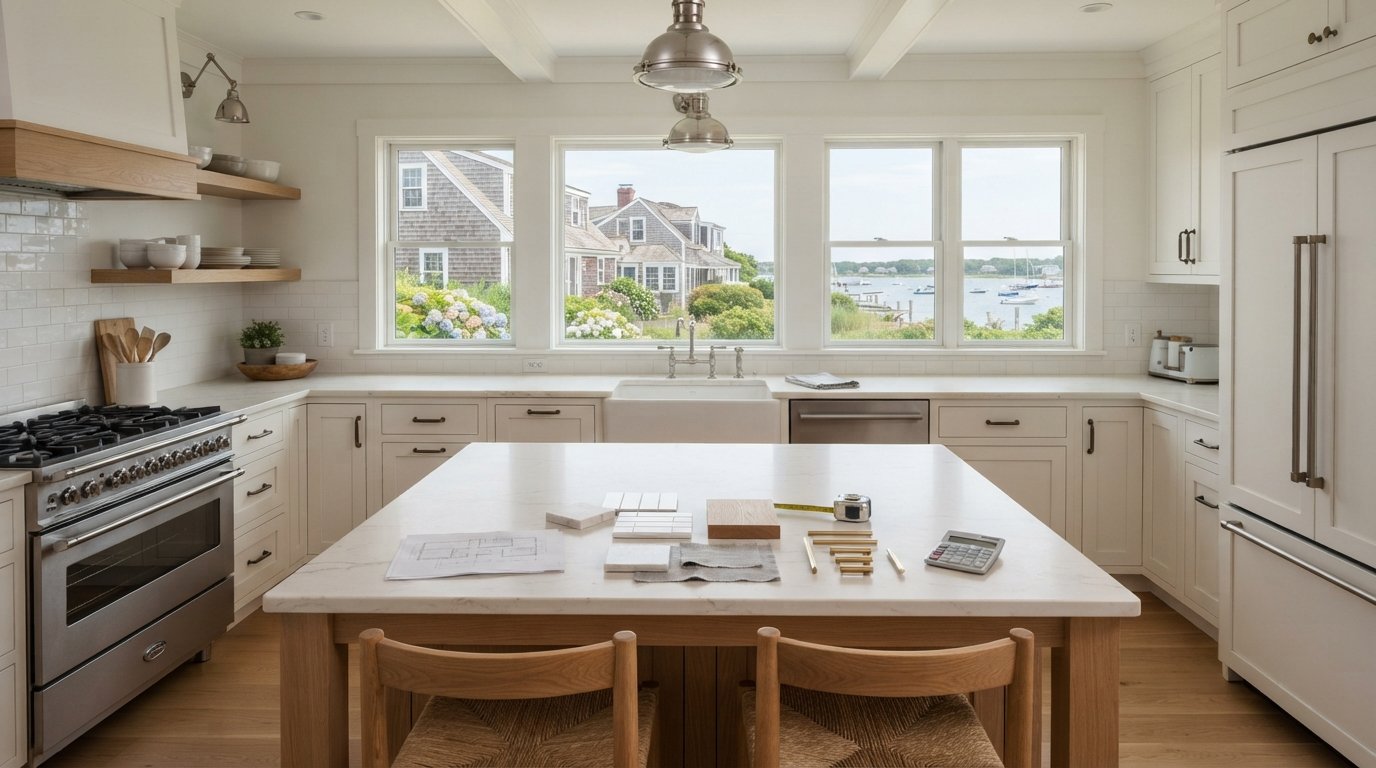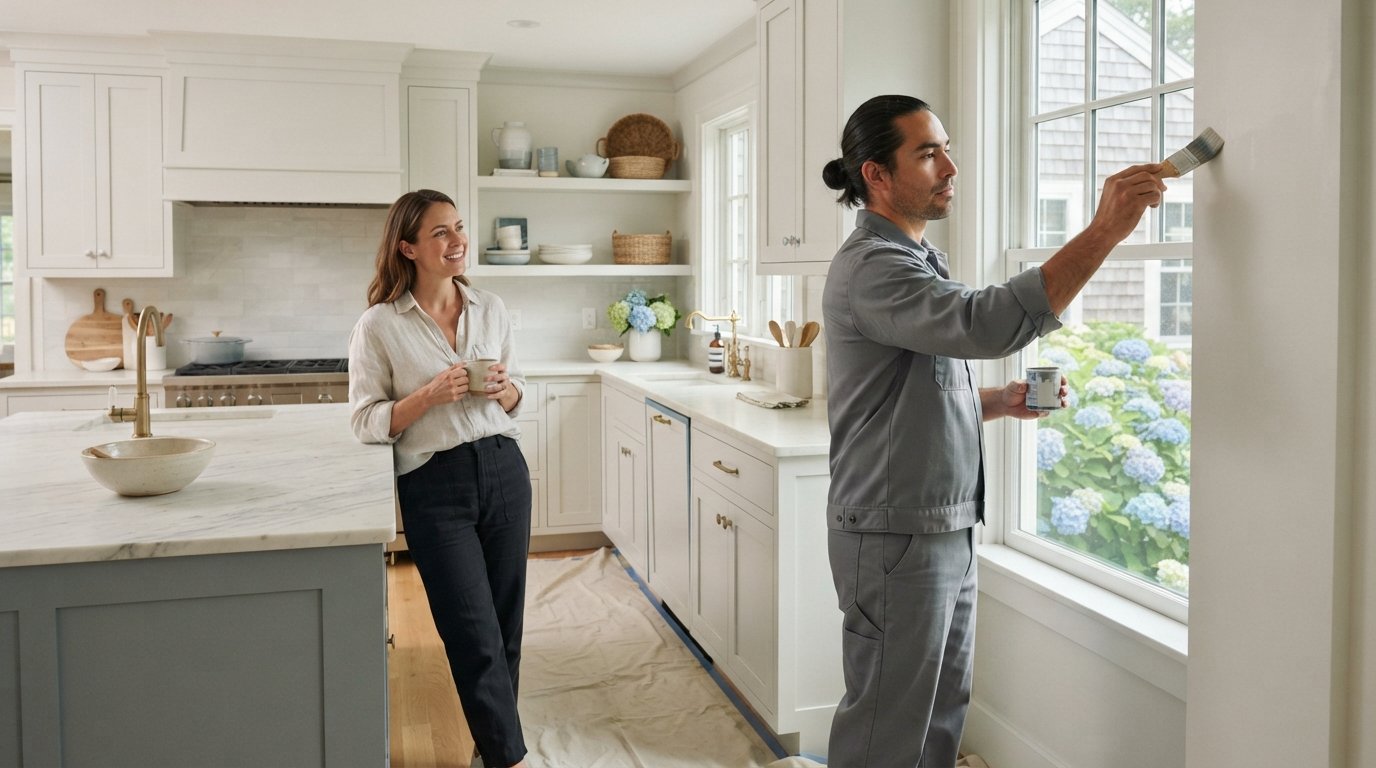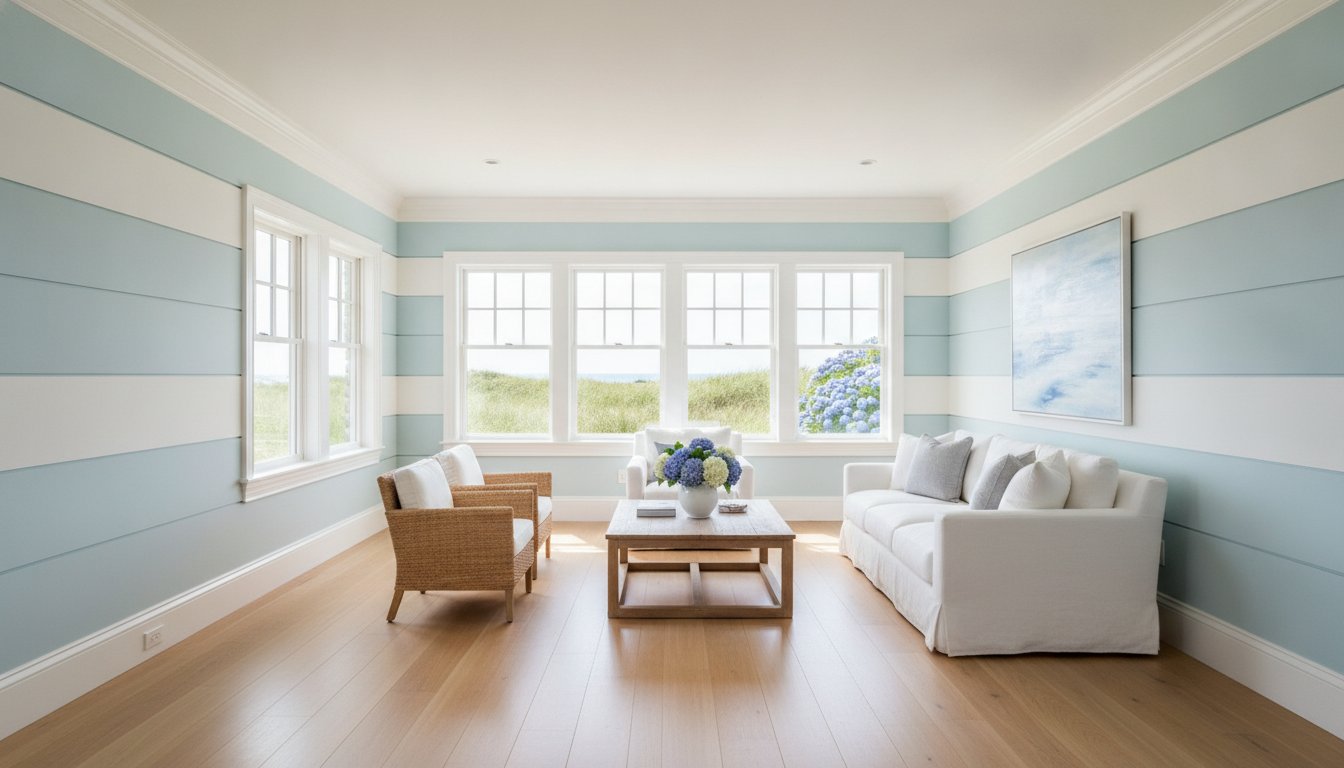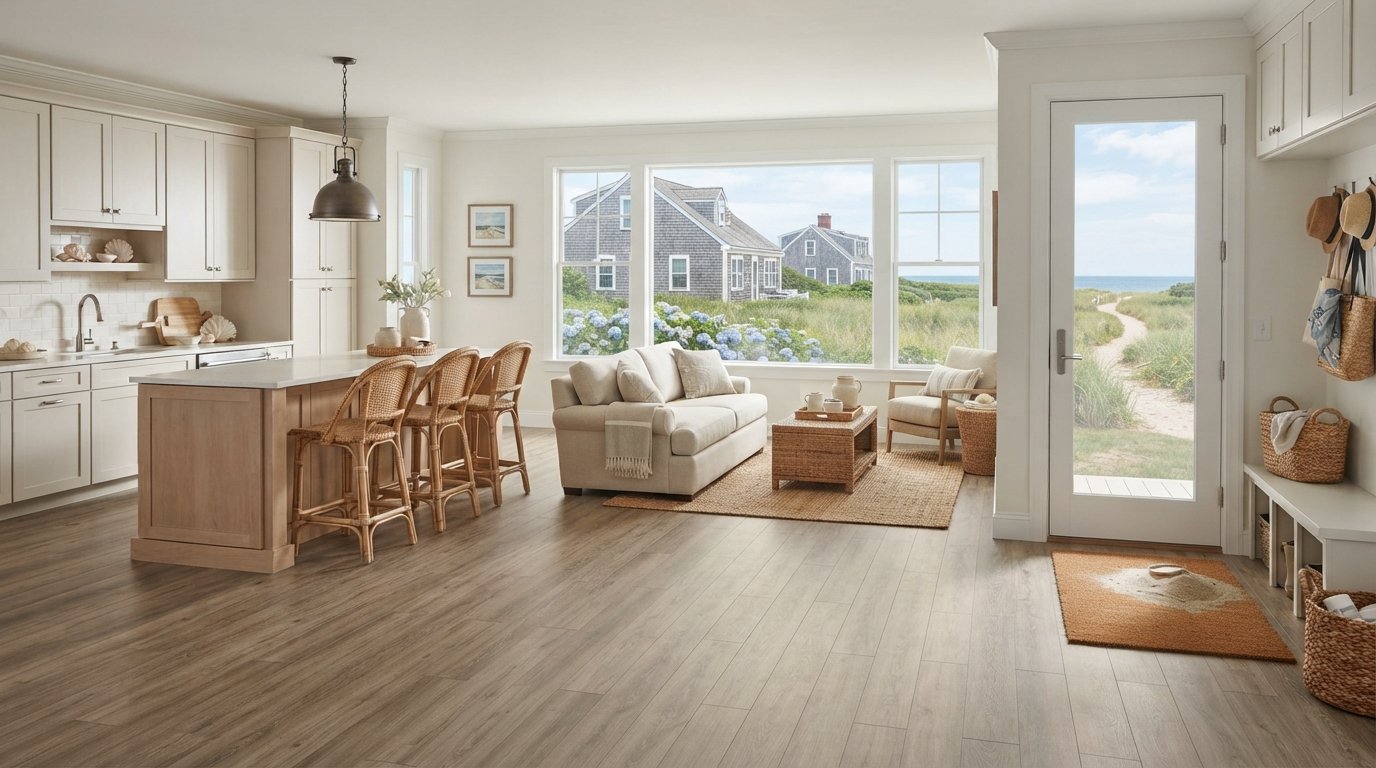
What if the very sand and salt air that make life on the peninsula so special didn’t have to be the sworn enemies of your home’s interior? If you’ve lived here long enough, you’ve likely seen traditional wood floors lose their luster under the abrasive grit of the Atlantic or watched planks warp during a particularly humid August. It’s a common struggle for local homeowners who want beauty without constant maintenance. Choosing the right vinyl plank flooring Cape Cod homes require means finding a balance between coastal style and rugged durability.
We understand that your home is a sanctuary, not a project that should require constant worry. In this guide, you’ll learn how to master the selection process for high-performance, sand-resistant floors that stand up to the unique challenges of our coastal environment. We’ll demystify the technical side of SPC and WPC cores so you can choose the right foundation for your space. You’ll also discover how to coordinate these stunning, driftwood-inspired finishes with new cabinetry and professional installation techniques to ensure your investment lasts for decades.
Key Takeaways
- Learn why stone-core materials provide the essential stability needed to handle the Cape’s high humidity and seasonal temperature swings.
- Discover how to identify the specific wear layer benchmarks that protect your investment from abrasive beach sand and pet traffic.
- Master the professional “10% rule” for ordering the exact amount of vinyl plank flooring Cape Cod homes need to ensure a seamless layout.
- Understand the critical project sequence of installing cabinetry before flooring to prevent long-term buckling and structural issues.
- Follow our step-by-step guide to subfloor preparation and click-lock installation for a professional result that looks like authentic hardwood.
Why Vinyl Plank Flooring is the Smartest Choice for Cape Cod Homes
Living on the Cape means dealing with unique environmental stressors that can quickly ruin traditional flooring. Luxury Vinyl Plank (LVP) has evolved into the gold standard for these conditions. It’s a high-performance material that mimics the look of natural wood while offering complete waterproofing. For homeowners looking for vinyl plank flooring Cape Cod, it’s about more than just a floor; it’s about finding a surface that can handle the reality of life near the water. The aesthetic appeal is just as important as the durability. We see a strong preference for light oaks and weathered driftwood styles that perfectly complement the Cape aesthetic while doing a fantastic job of hiding the occasional bit of beach sand.
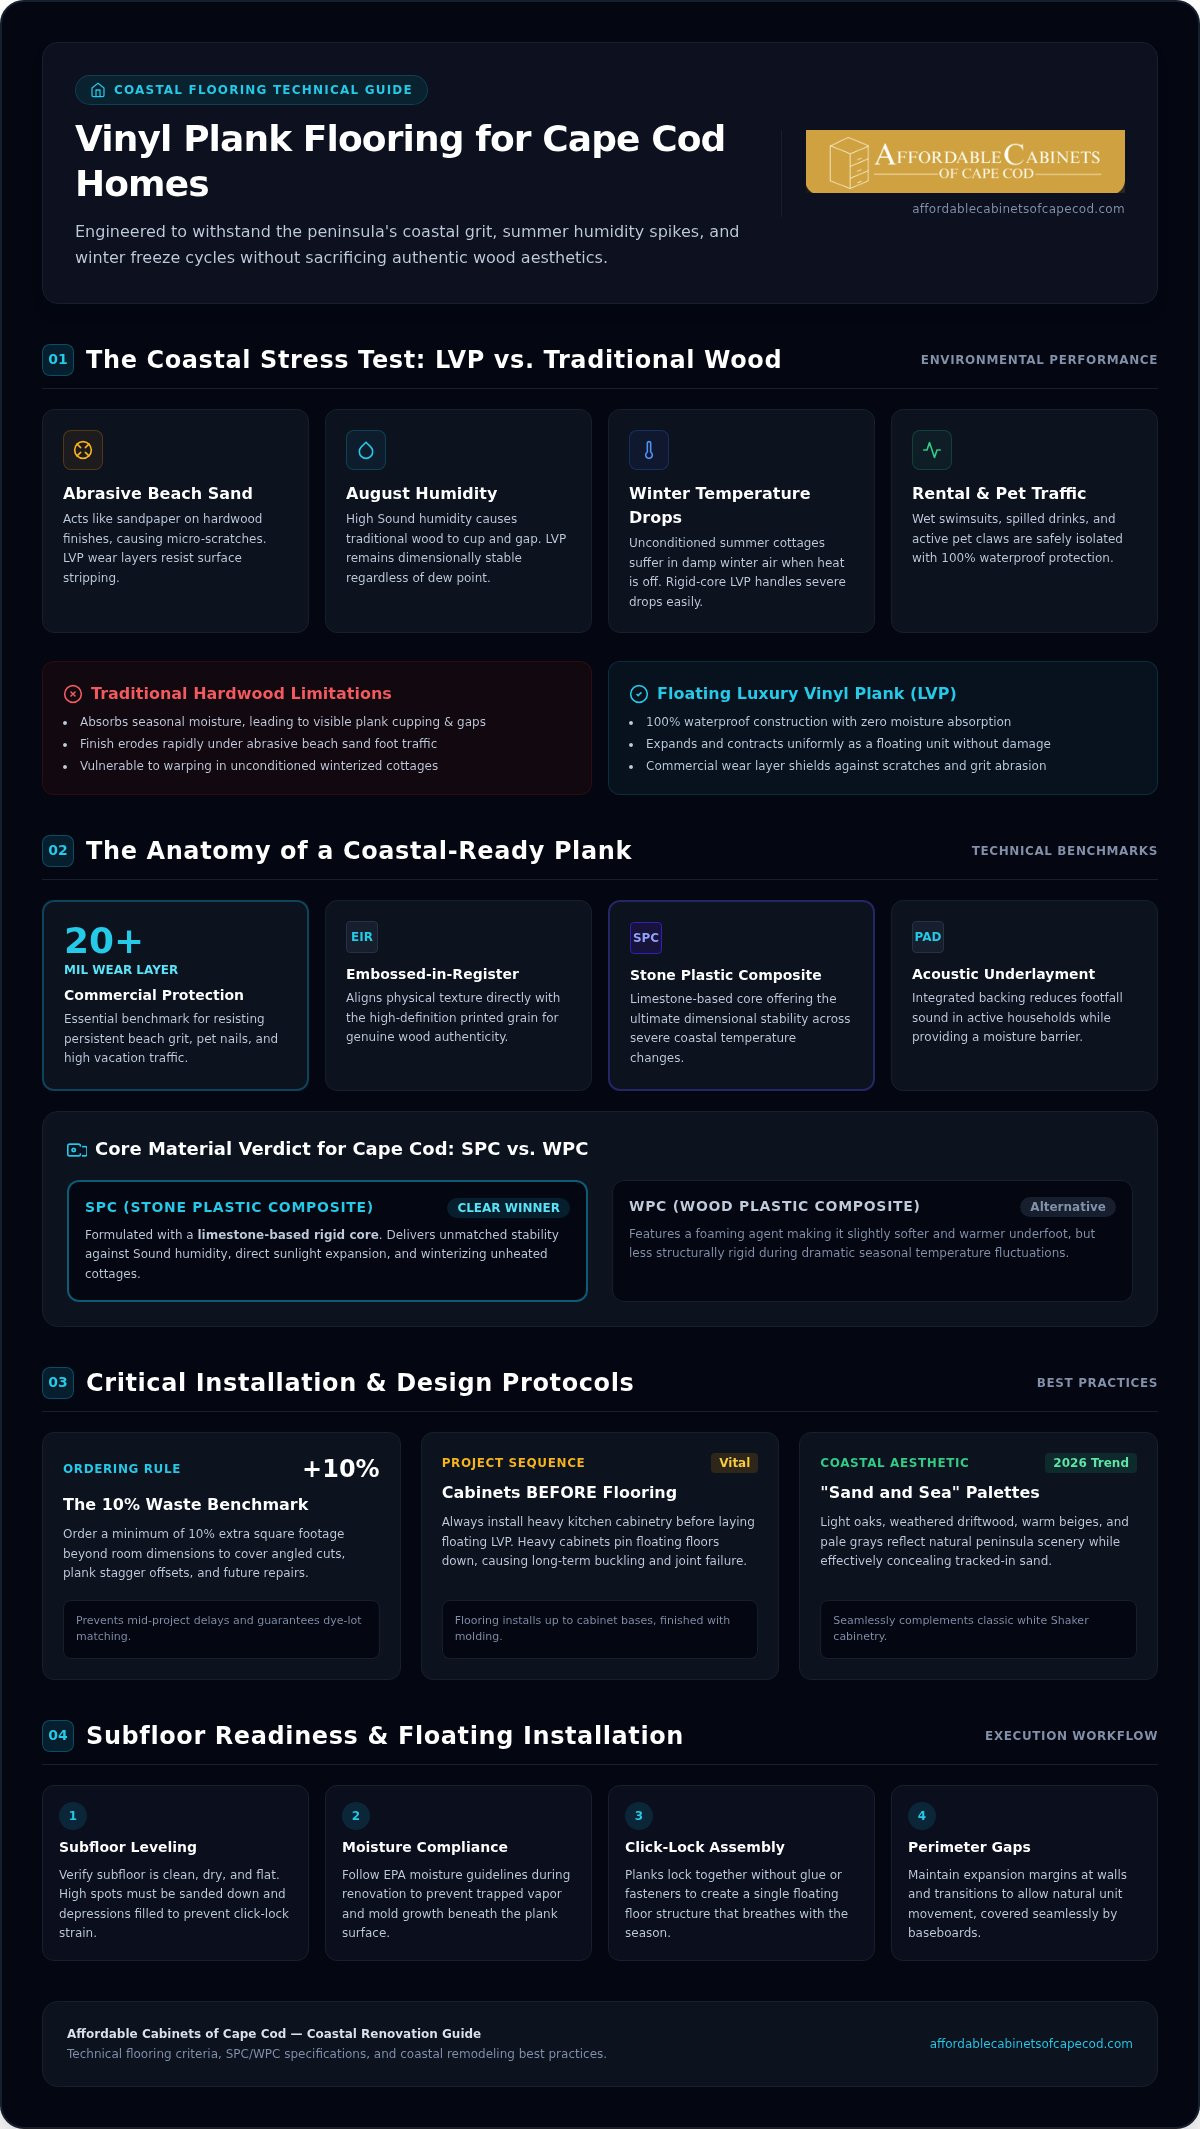
The “Sand Factor” is a major consideration for any local renovation. Sand acts like sandpaper on traditional wood finishes, stripping away the seal over time. LVP features a transparent protective wear layer that resists these micro-scratches. In towns like Falmouth or Hyannis, humidity also plays a massive role in floor health. Traditional wood absorbs moisture, which leads to “cupping” or unsightly gaps. LVP remains dimensionally stable regardless of the dew point. Because most modern LVP uses a floating floor installation method, the planks can expand and contract slightly as a unit without damaging the subfloor or the material itself.
LVP vs. Hardwood in Coastal Environments
If you own an unconditioned summer cottage, you know the struggle of winterization. Wood floors often suffer when the heat is turned off and the damp winter air settles in. In contrast, rigid-core vinyl handles these temperature drops beautifully. For rental properties in Yarmouth or Brewster, the cost-to-durability ratio is unbeatable. You get the high-end look of a kitchen remodeling Cape Cod project without the constant fear of water damage from wet swimsuits or spilled drinks. It’s a “set it and forget it” solution that frees up your time for the beach rather than floor maintenance.
The Anatomy of a Coastal-Ready Plank
Not all planks are created equal. For our local climate, we recommend a wear layer of at least 20 mil. This commercial-grade thickness is essential for resisting the abrasive nature of coastal grit. You’ll also need to choose between SPC (Stone Plastic Composite) and WPC (Wood Plastic Composite). While WPC is softer underfoot, SPC is the clear winner for Cape homes because its limestone-based core offers superior resistance to temperature fluctuations. Many high-quality planks also include integrated acoustic underlayment, which is a lifesaver in busy summer households for reducing the sound of footsteps and furniture movement.
How to Choose the Best Vinyl Plank for Your Remodel
Selecting the perfect vinyl plank flooring Cape Cod homeowners love requires a balance of aesthetic vision and technical reality. While the surface look captures your eye, the core material determines how long that beauty lasts. Stone Plastic Composite (SPC) is the preferred choice for our local climate. Its limestone-based core provides the ultimate stability, ensuring your planks don’t buckle when the summer humidity rolls off the Sound. If you want a floor that truly mimics the feel of natural timber, look for products featuring Embossed-in-Register (EIR) textures. This technology aligns the physical grain with the printed image, creating a sophisticated finish that’s difficult to distinguish from real wood.
Your flooring choice shouldn’t exist in a vacuum. It needs to work in harmony with your other renovation elements. For instance, if you’re browsing for affordable kitchen cabinets Cape Cod, you’ll find that lighter flooring tones provide a seamless, airy feel that makes a small kitchen feel expansive. Beyond the visual, don’t overlook the technical foundation. A quality underlayment is vital for comfort and sound dampening. It also serves as a critical moisture barrier. Adhering to EPA moisture and indoor air quality guidelines during your remodel helps prevent mold growth and ensures your home remains a healthy environment for your family.
Coastal Color Palettes for 2026
This year, we’re seeing a shift toward “Sand and Sea” palettes. These include pale grays, warm beiges, and sun-bleached oak tones that reflect the Cape’s natural landscape. These shades are incredibly versatile, matching perfectly with classic white Shaker cabinets. If you’re aiming for a more dramatic aesthetic, consider using darker, espresso-toned planks. These create a stunning contrast against the crisp, light work of professional interior painting services Cape Cod. Finding the right balance between your floors and walls is a collaborative process that our team at Affordable Cabinets of Cape Cod can help you navigate.
Technical Specifications to Look For
Always check the plank thickness before buying. A minimum of 5mm is usually necessary to hide minor subfloor dips. For seasonal cottages, verify that your flooring warranty covers unheated spaces during the winter. We also recommend choosing products with low-VOC certifications to maintain high indoor air quality. These technical details might seem overwhelming, but they’re the difference between a floor that lasts five years and one that lasts twenty. Look for products that offer a balance of a thick wear layer and a robust locking system to ensure your investment stays secure for the long haul.
Preparation: Measuring and Subfloor Readiness
Success with vinyl plank flooring Cape Cod projects depends heavily on what happens before the first plank is laid. You can’t just jump into installation if you want a result that lasts. Start by measuring your room square footage accurately. Multiply the length by the width for each rectangular section. If your home has the charming but irregular nooks common in older Cape cottages, break the floor plan into smaller boxes and add them up. Always apply the 10% rule. This waste factor ensures you have enough material for complex cuts, unexpected mistakes, and future repairs. When calculating your project budget, remember that vinyl plank flooring installation costs often fluctuate based on the complexity of these layouts and the current state of your subfloor.
Don’t ignore the local climate during your prep phase. Before you start, your planks need to acclimate. Let the boxes sit flat in the installation space for at least 48 hours. This allows the material to adjust to your home’s specific temperature and humidity levels. This step is non-negotiable in towns like Mashpee or Sandwich, where basement moisture levels can be higher than the regional average. Use a moisture meter to check your subfloor. If you find high readings, you’ll need to address the source of the dampness or install a specialized barrier before proceeding. A stable environment is the secret to preventing gaps or buckling later on.
Essential Tools for the Job
Having the right gear makes the process significantly smoother. You’ll need spacers to maintain expansion gaps, a tapping block to secure joints, and a pull bar for tight spots near walls. Safety is just as important as the finish. Wear high-quality knee pads to protect yourself during the long hours on the floor. While you can score and snap many products with a utility knife, renting a professional vinyl cutter is often worth the small investment. It provides cleaner edges and speeds up the work, especially on larger multi-room projects.
Fixing Subfloor Imperfections
Your subfloor must be flat, clean, and dry. Sand down any high spots on plywood or use a self-leveling compound to fill in low dips. If you’re working over a concrete slab, a 6-mil poly vapor barrier is essential to block rising dampness. Be cautious with old flooring materials. If you suspect old adhesive or tiles contain asbestos, don’t sand or scrape them. It’s always better to consult a professional to ensure you’re following local safety protocols. Once the surface is level and debris-free, you’ve built the foundation for a floor that won’t click or shift underfoot.
Step-by-Step Guide to Installing Vinyl Plank Flooring
Once your subfloor is prepped and your planks have acclimated, you’re ready to begin the transformation. Installing vinyl plank flooring Cape Cod homeowners can take pride in requires a methodical approach to ensure the click-lock system functions correctly. Start by selecting a long, straight exterior wall to begin your first row. It’s vital to leave a 1/4 inch expansion gap between the planks and the wall. This gap isn’t a mistake; it’s a necessity for the seasonal shifts our coastal homes experience. Without it, your floor could buckle when the humidity rises in July.
The “Click-Lock” technique involves angling the new plank into the groove of the previous one and pressing it down until it snaps into place. You’ll hear a satisfying click that signals a watertight seal. This connection is what makes LVP so resilient against spills and damp coastal air. As you move to the second row, ensure you stagger the seams by at least six inches. A random pattern is more than just a style choice. It provides structural integrity by preventing weak points from lining up across the room, making the entire floor more stable under heavy furniture.
Cutting around door jambs or kitchen islands requires patience and the right technique. Use a jamb saw to undercut the wood so the plank can slide underneath for a clean finish. For intricate cuts around vents, a jigsaw with a fine-tooth blade is your best friend. If you would rather leave the heavy lifting to the experts, our team at Affordable Cabinets of Cape Cod provides professional flooring installation to ensure a flawless finish for your home renovation.
The First Row Strategy
Measure the room’s width and divide by the plank width to ensure you won’t end up with a tiny sliver at the opposite wall. If necessary, rip down the first row to balance the layout. Use plastic spacers every twelve inches to keep that expansion gap consistent. If your first row isn’t perfectly straight, every subsequent row will be crooked, so take the time to get this right. Check your progress with a chalk line or laser level to stay on track.
Finishing Touches and Transitions
T-moldings are essential for transitions between different rooms or flooring types, allowing for independent movement. Once the planks are down, install your baseboards or quarter-round molding. Remember to nail these into the wall, not the floor, to allow the floating system to move naturally. Finish by sweeping away debris and using a damp mop for a final clean. Your new floor is ready for immediate use, but avoid dragging heavy appliances across the surface for the first 24 hours.
Integrating Flooring into a Full Cape Cod Remodel
Flooring is the canvas for your entire interior design. When you’re planning a kitchen remodeling Cape Cod project, it’s easy to focus solely on the cabinetry or countertops. However, the floor ties everything together. We believe in a holistic approach where every element, from the paint on the walls to the texture underfoot, works in unison to create a cohesive coastal retreat. Selecting the right vinyl plank flooring Cape Cod homeowners often prefer ensures that your kitchen isn’t just beautiful, but also functionally prepared for the sand and moisture of life on the peninsula.
A common question we hear involves the sequence of work. For floating floors, we generally recommend installing your cabinetry, heavy islands, and vanities before the flooring. Since LVP is a floating system, pinning it down with heavy permanent fixtures can prevent natural thermal expansion. This often leads to buckling or seam separation during our humid summers. By installing the floor around the cabinets and finishing with professional trim, you ensure the floor can breathe while looking perfectly integrated into the room’s architecture.
Choosing professional kitchen flooring installation Cape Cod services means you don’t have to worry about these technical nuances. Our team manages the transition from your new Shaker cabinets to the floor with precision. We ensure the subfloor is level enough that your cabinet base remains perfectly flat. This avoids the structural issues and unsightly gaps that often plague DIY attempts when homeowners try to work around unlevel joists or sloping subfloors.
The Value of Professional Management
Renovating a home should be an inspiring journey, not a series of logistical headaches. We coordinate all kitchen finishing services Cape Cod homeowners need, from the initial design to the final coat of paint. Whether you’re in Mashpee, Falmouth, or Dennis, we act as your skilled guide throughout the process. This integrated service model ensures that your flooring, cabinetry, and painting schedules align perfectly, preventing delays and ensuring a seamless result that reflects your personal vision. For homeowners in Mashpee specifically, partnering with trusted interior painters Mashpee MA residents rely on can ensure that your walls receive the same level of expert attention as your new floors and cabinetry.
Next Steps for Your Home
If you’re ready to see how these elements come together, the best next step is to visit our showroom. You can see physical LVP samples side-by-side with our Shaker and RTA cabinet options to find the perfect color match for your coastal aesthetic. We’ll help you visualize the design goals while we handle the technical skills and comprehensive services required for the job. Don’t leave your renovation to chance. You can get a free estimate for your Cape Cod flooring project today and let’s start building the home you’ve always envisioned.
Transform Your Home with Coastal-Ready Flooring
Your home deserves a foundation that can withstand the unique challenges of our peninsula. By prioritizing high-performance SPC materials and respecting the necessary acclimation periods, you ensure your interior remains beautiful despite the constant presence of sand and salt air. We’ve explored how professional subfloor preparation and strategic sequencing with your new cabinetry prevent the common pitfalls of coastal renovations. It’s about creating a space that feels as durable as it is inviting, tailored specifically for the way we live here.
Selecting the right vinyl plank flooring Cape Cod homeowners can trust requires a partner who understands our local microclimates. At Affordable Cabinets of Cape Cod, we bring deep local expertise and integrated solutions that bridge the gap between stunning cabinetry and professional installation. We’re here to help you navigate every step of the process, ensuring your project is handled with the care and precision it deserves. Ready to bring your vision to life? Start Your Cape Cod Flooring Transformation with Affordable Cabinets today. We look forward to helping you build a home that lasts for decades.
Frequently Asked Questions
Is vinyl plank flooring actually waterproof for bathrooms?
Yes, high-quality luxury vinyl plank is 100% waterproof, making it an ideal choice for bathrooms and kitchens. Unlike hardwood, these synthetic materials don’t swell when exposed to standing water or high humidity. This is a major benefit for homes near the Sound where moisture levels fluctuate seasonally. It is still vital to ensure the subfloor is dry before installation to prevent trapped moisture, even though the planks themselves are unaffected.
How much does vinyl plank flooring installation cost on Cape Cod?
The cost for vinyl plank flooring Cape Cod projects depends on material quality and the current condition of your subfloor. Labor rates in Barnstable County reflect the specialized skills required for coastal renovations and the local cost of living. We recommend a professional measurement to provide a clear understanding of the investment needed for your specific floor plan and any necessary preparation work required for a lasting finish.
Can I install LVP over my existing tile or hardwood floors?
You can often install LVP over existing hard surfaces if they are well-bonded and level. Any deep grout lines or gaps in the original floor should be filled first to prevent them from showing through the new surface over time. If the original floor is unstable or badly damaged, removal is usually the best path to protect the click-lock mechanisms. We evaluate each home individually to determine the most reliable approach for your space.
How do I clean sand off my vinyl plank floors without scratching them?
Regular sweeping with a soft-bristle broom or a hard-floor vacuum is the best way to manage coastal grit. Avoid vacuums with aggressive beater bars that might dull the finish over time. For a deeper clean, use a pH-neutral cleaner and a damp microfiber mop. Removing sand quickly prevents it from acting as an abrasive, which keeps your floors looking new and protects the wear layer for years to come.
Does vinyl plank flooring need an underlayment or pad?
Many modern planks include an integrated pad, but if yours doesn’t, a separate underlayment is essential for sound dampening and comfort. In towns like Mashpee or Falmouth, where moisture vapor can rise from crawl spaces, we also suggest a 6-mil poly vapor barrier. This extra layer protects your investment from subfloor dampness and helps maintain healthy indoor air quality throughout the year by preventing mold growth under the planks.
How long does a typical flooring installation take in a Cape Cod kitchen?
A typical kitchen installation usually takes between one and three days. This timeline includes the necessary subfloor preparation, laying the planks, and installing the finishing trim or quarter-round. Larger projects or rooms with complex angles around kitchen islands and pantry nooks may take slightly longer. Because the system is glue-free, you can move your furniture back and enjoy the space almost immediately after the final plank is set.
Will LVP fade if my home has large windows with direct salt-air sunlight?
Modern LVP is engineered with UV inhibitors to resist fading, which is a significant advantage for homes with large, sun-drenched windows. While no material is entirely immune to long-term exposure, these protective layers help maintain the color’s vibrancy against the intense coastal light. We suggest using window treatments during peak sun hours to further protect your interior and keep your driftwood-inspired tones looking fresh for decades.
What is the difference between LVP and laminate flooring?
The primary difference is the core material and its reaction to water. Laminate typically uses a wood-based core that can warp or swell if it gets wet or sits in high humidity. In contrast, the vinyl plank flooring Cape Cod residents prefer features a stone or plastic composite core that is entirely waterproof. This makes it a much more durable and stable option for entryways, mudrooms, and kitchens where dampness and tracked-in water are common.