What if the biggest obstacle to your dream kitchen isn’t your budget, but a wall that’s two inches out of plumb? If you’re planning an open concept kitchen design Cape Cod homeowners often find that our charming, historic architecture doesn’t always play nice with standard measurements. You likely worry that those beautiful Shaker cabinets you’ve been eyeing won’t actually fit once they arrive, or that technical terms like “fillers” and “soffits” feel like a foreign language.
It’s natural to feel a bit of hesitation when dealing with the unique quirks of older coastal homes, but you don’t have to do it alone. This guide provides the exact steps to measure your space with professional precision, ensuring every cabinet and appliance sits perfectly. We’ll show you how to account for uneven floors and crooked corners while creating a professional-grade floor plan. By the end, you’ll have the confidence to order your RTA cabinets and maximize every inch of your footprint, turning those architectural challenges into a functional, beautiful heart of your home.
Key Takeaways
- Learn why a half-inch error can cause massive delays and how to avoid the financial risks of inaccurate measurements during your remodel.
- Discover how to map your space’s unique quirks, including slanted eaves and uneven walls, to create a seamless open concept kitchen design Cape Cod homes require.
- Master the “Golden Triangle” and modern work zones to ensure your new layout maximizes both storage and functionality in a limited footprint.
- Gain the technical skills to record windows, doors, and trim correctly so your Shaker or RTA cabinets fit perfectly on the first try.
- Understand why a professional CAD floor plan and measurement verification serve as the ultimate insurance policy for your renovation project.
The Foundation: Why Kitchen Measurement and Design Matter
Accuracy is the bedrock of a successful renovation. When you’re planning an open concept kitchen design Cape Cod homeowners often realize that the transition from a vision to a physical reality depends entirely on the numbers you record today. A “measure twice, cut once” philosophy isn’t just a cliché; it’s your primary defense against project failure. In the unique architectural landscape of the Cape, where older homes often feature settled foundations and settled walls, precision is even more vital.
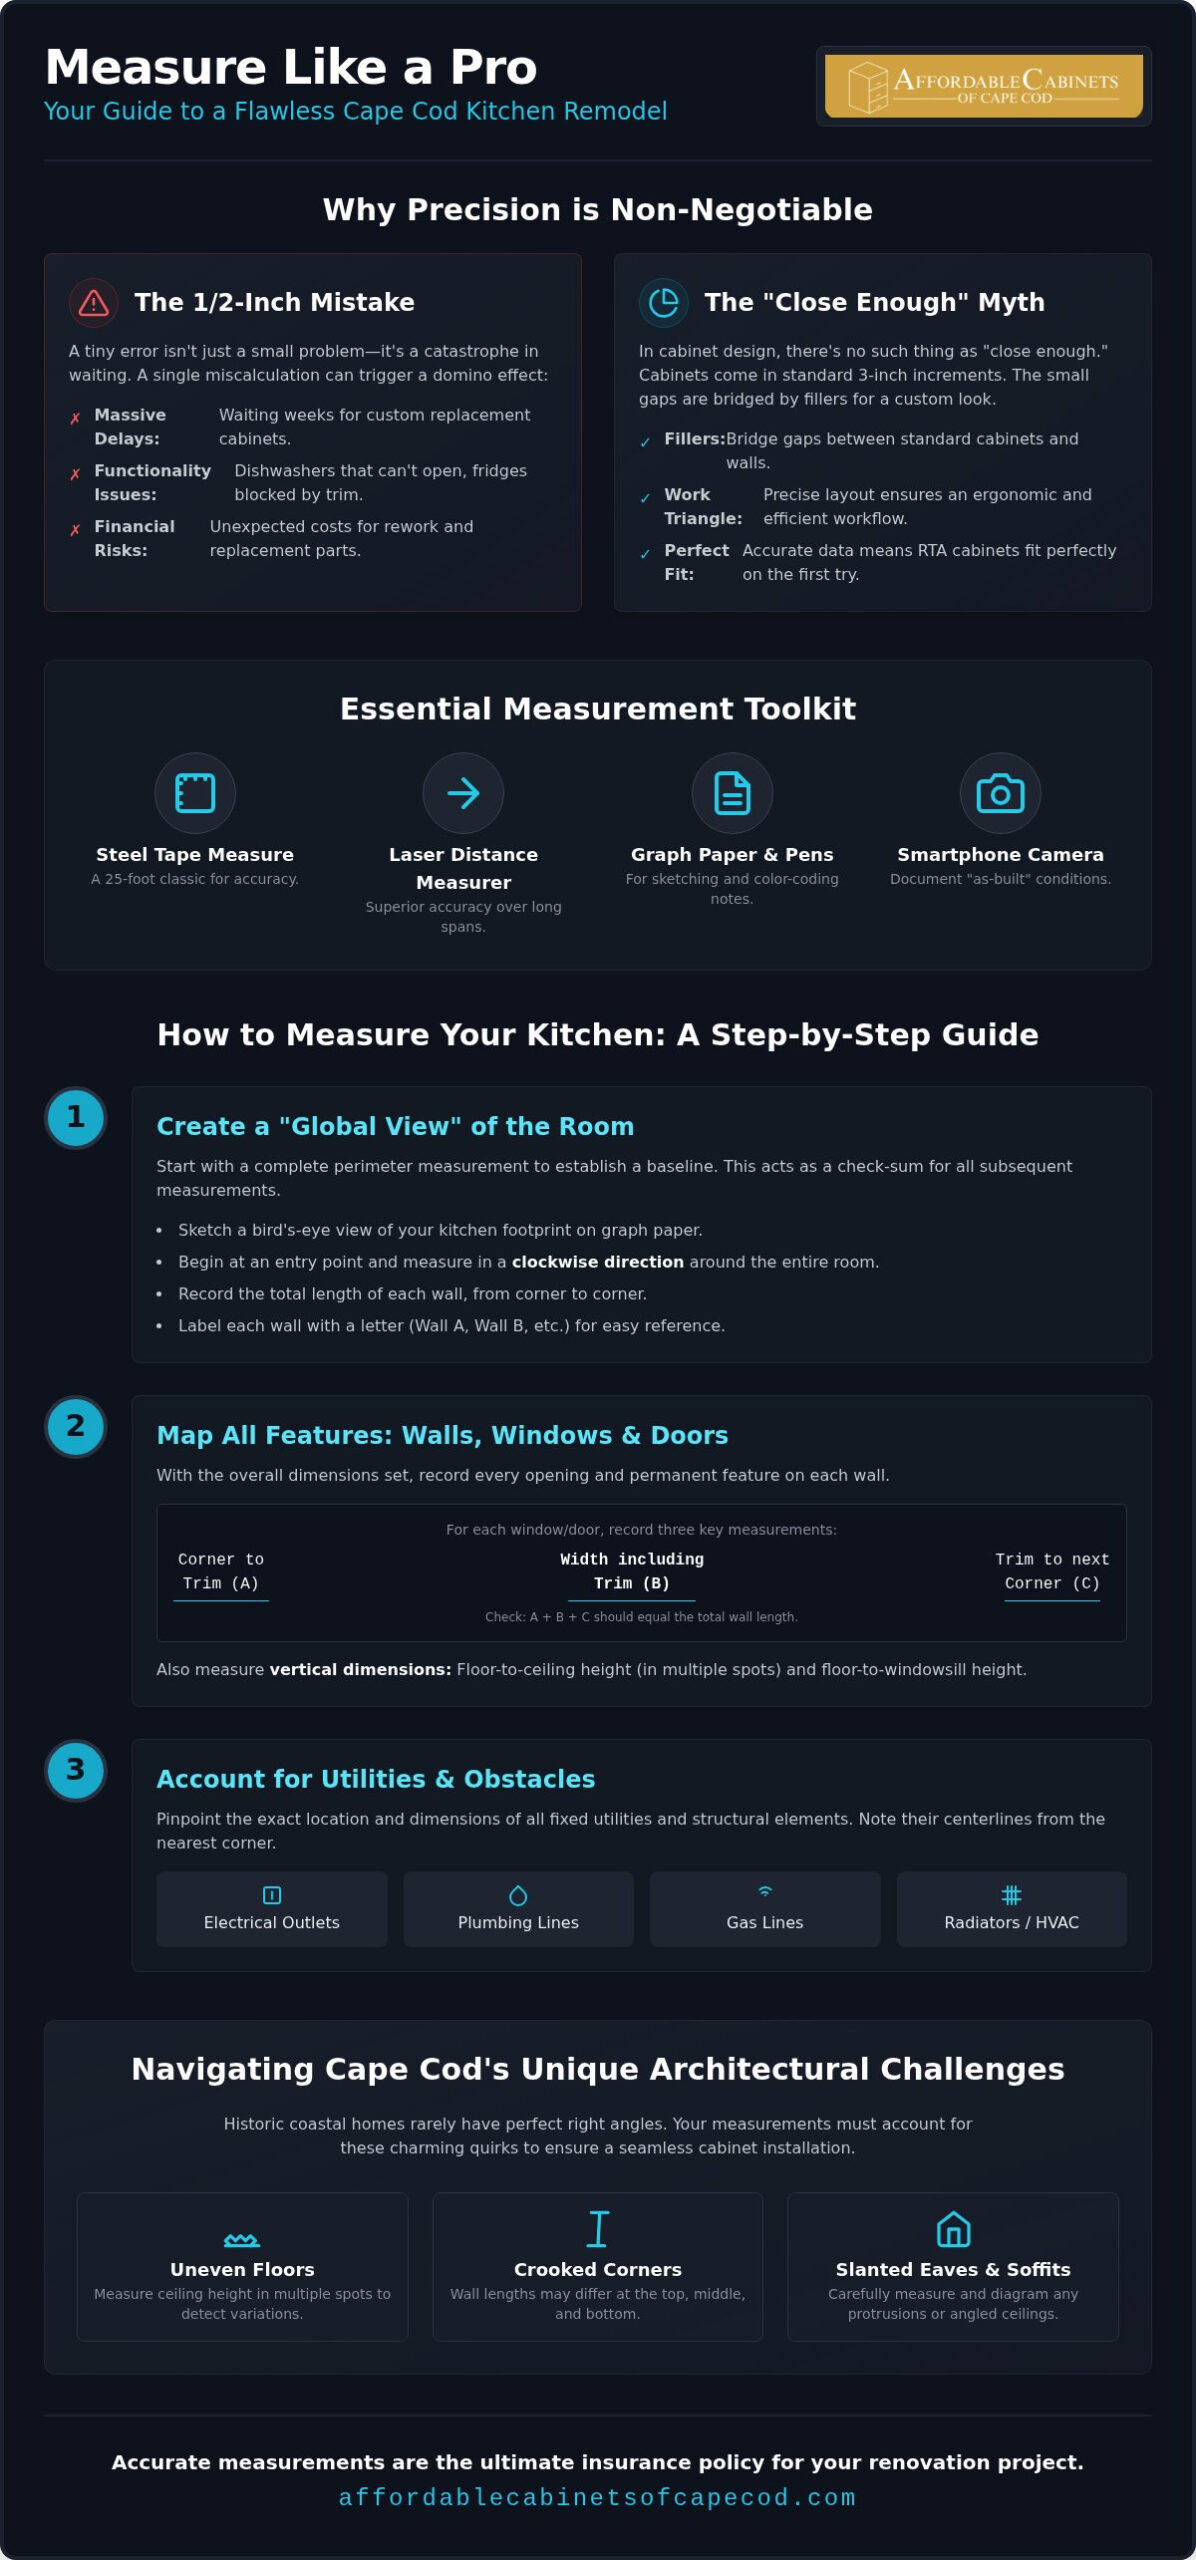
Think of your measurements as the DNA of your kitchen. Even a 1/2-inch discrepancy can trigger a cascade of problems. If a cabinet run is too long by just a fraction, your dishwasher might not open, or your refrigerator could be blocked by a door casing. In the world of cabinetry, these small mistakes lead to massive delays. Because high-quality cabinets are built to order, a single measuring error can force you to wait weeks for replacement parts while your kitchen remains a construction zone.
Why ‘Close Enough’ Doesn’t Work in Cabinetry
Standard cabinets typically come in 3-inch increments. Since your walls are rarely perfectly divisible by three, we use fillers to bridge those gaps. These small strips of wood ensure your small kitchen design Cape Cod stays functional and looks custom without the custom price tag. Precision ensures your layout respects the kitchen work triangle, keeping your workflow ergonomic and efficient. Without exact data, you risk creating a space that looks beautiful but feels cramped or awkward to use.
Essential Tools for Homeowner Measurement
You don’t need a degree in engineering to get design-ready numbers, but you do need the right kit. While a 25-foot steel tape measure is a classic, a laser distance measurer can offer superior accuracy over long spans. Use graph paper and a multi-colored pen system to stay organized. For instance, use one color for walls, another for plumbing, and a third for electrical outlets. Your smartphone is also an invaluable documentation tool. Photos of “as-built” conditions, such as the inside of your sink cabinet or the location of a radiator, provide essential context for your designer.
Professional design software takes your baseline numbers to create immersive 3D renderings. This process allows you to virtually walk through your open concept kitchen design Cape Cod before a single cabinet is ordered. This step is what separates a simple “rough sketch” from a “design-ready” technical floor plan. While a sketch shows the general idea, a technical plan accounts for the exact tolerances required for your Shaker or RTA cabinets to fit perfectly against your specific wall dimensions.
Step-by-Step: How to Measure Your Kitchen Like a Pro
To begin your transformation, you need a “Global View” of the room. Start at a logical entry point and move in a clockwise direction around the entire perimeter. Measuring in a consistent circle ensures you don’t skip a small stretch of wall or a recessed corner. Record the total length of every wall first, from corner to corner. This baseline provides a check-sum for the smaller segments you’ll measure next. If the sum of your individual parts doesn’t match the total wall length, you’ll know immediately that a number is off.
Mapping Walls, Windows, and Doors
- Step 1: Sketch a bird’s-eye view of your kitchen footprint on graph paper, including adjacent rooms to help visualize the flow of your open concept kitchen design Cape Cod.
- Step 2: Measure from the corner to the outside edge of the window or door trim. Then, measure the width of the opening including the casing, and finally from the other side of the trim to the next corner.
- Step 3: Label every wall with a letter (Wall A, Wall B, etc.) to keep your notes organized when discussing the plan with a designer.
The centerline is the fixed anchor point for all plumbing and ventilation, usually found by measuring to the exact middle of your sink or range. Don’t forget the vertical dimension. You must capture the floor-to-ceiling height in several spots, as settled coastal foundations often cause ceiling heights to vary by an inch or more. Also, record the distance from the floor to the bottom of your windowsills. This determines if a standard 36-inch high countertop will fit underneath or if you’ll need to adjust your layout.
Accounting for Utilities and Structural Obstacles
Once the walls are mapped, pinpoint your utilities. Mark the exact locations of electrical outlets, gas lines, and water shut-off valves. These are often difficult or expensive to move, so your cabinet design should work around them whenever possible. You also need to account for appliance “clearance zones.” For example, a French-door refrigerator requires extra space on both sides to allow the doors to swing open fully without hitting a wall or a cabinet handle. If you’re unsure how these technical details fit together, our team provides expert kitchen measurement services to verify your numbers before you order.
In many open concept kitchen design Cape Cod projects, removing a wall reveals structural surprises. Look for load-bearing pillars, radiators, or floor vents that might impact where a cabinet can sit. If you have a chimney stack or a plumbing chase protruding into the room, measure its depth and width with the same precision as your main walls. These obstacles don’t have to ruin your design, but they must be accounted for in the initial blueprint to avoid costly on-site modifications during installation.
Once you’ve gathered your technical measurements, the fun part of your open concept kitchen design Cape Cod project begins: the layout. This is where your numbers transform into a functional environment that supports your daily life. A successful design doesn’t just look good in a 3D rendering; it flows effortlessly when you’re preparing a meal or hosting guests. Most kitchen remodeling Cape Cod homeowners find that the challenge lies in balancing the historic charm of their home with the modern desire for an airy, connected space.
The Classic Work Triangle vs. Modern Zone Planning
While the “Golden Triangle” remains a vital ergonomic principle, modern families often need more flexible “Work Zones.” The triangle dictates that the distance between your sink, stove, and refrigerator should stay between 4 and 9 feet. This prevents you from walking miles while cooking but ensures you aren’t tripping over your own feet. In a multi-cook household, you should also plan for distinct prep, cook, and clean zones. For example, your cleaning zone should house the dishwasher and trash pull-out, while your prep zone requires a wide stretch of countertop near the sink.
Adapting these zones is particularly important in L-shaped or Galley kitchens common in coastal cottages. If you’re removing a wall to create an open concept, you might gain floor space but lose wall storage. You’ll need to strategically place your island or peninsula to define the kitchen’s boundaries without blocking the social interaction that makes an open layout so appealing. For homeowners looking to add both prep space and social connection, exploring a kitchen island with seating Cape Cod layouts can offer can help you balance storage needs with the open, welcoming feel you’re after. This transition requires careful planning to ensure your new cabinetry provides enough storage to replace what was lost on the removed wall.
Designing with Shaker-Style Cabinets for Coastal Utility
Choosing the right cabinet style is about more than just looks; it’s about durability and timelessness. Shaker-style cabinets are often considered the gold standard for Cape Cod homes because their clean, simple lines complement both historic and contemporary interiors. To maximize your utility, consider using deep drawer bases for your lower cabinets instead of standard doors with shelves. Drawers allow you to see everything at a glance and eliminate the need to crawl on the floor to find a heavy pot or a stack of plates.
In smaller footprints or non-linear layouts, corner solutions are your best friend. A Lazy Susan or a “blind corner” pull-out ensures that no space is wasted in those hard-to-reach areas. By combining high-quality RTA cabinets with a smart layout, you can create a kitchen that feels much larger than its actual square footage suggests. This thoughtful planning ensures your open concept kitchen design Cape Cod is as practical as it is beautiful, providing the perfect backdrop for coastal living.
Navigating Cape Cod’s Unique Architectural Challenges
Cape Cod homes are celebrated for their cozy aesthetics, but those same architectural details often present hurdles during a renovation. If you’re working on an open concept kitchen design Cape Cod architecture frequently introduces the “Cape Cod Slope.” These slanted eaves and knee walls require a creative approach to cabinetry that standard big-box stores often overlook. Rather than assuming you need expensive custom builds, you can adapt high-quality RTA options to fit these unique angles perfectly.
Dealing with Slanted Ceilings and Quirky Angles
When your kitchen resides under a gabled roof or a dormer, measuring the “pitch” of your ceiling is critical. This calculation ensures your cabinet doors have enough clearance to swing open without hitting the slope. In these areas, you might choose reduced-height upper cabinets or swap traditional uppers for custom-cut open shelving. These affordable kitchen cabinets Cape Cod residents trust are particularly well-suited for these modifications. They provide the flexibility to maintain a cohesive look while respecting the home’s original lines.
Historic coastal homes are rarely level. Over decades, foundations settle and walls shift, meaning you’ll likely encounter floors that slope or corners that aren’t quite 90 degrees. Managing these uneven surfaces is where shimming and scribing become your most valuable techniques. Shimming levels the cabinet boxes from below, while scribing involves trimming the cabinet’s side panel or filler to follow the exact contour of a crooked wall. This creates a built-in look that hides the home’s imperfections and ensures your countertops sit perfectly flat.
Maximizing Storage in Smaller Coastal Footprints
In many coastal cottages, every square inch counts, especially if the home serves as a seasonal rental. You can boost your storage capacity without expanding the kitchen’s footprint by choosing ceiling-height cabinets. This eliminates dust-collecting soffits and provides extra room for items you only use occasionally. For galley layouts, consider “toe kick” drawers. These slim compartments sit in the unused space at the very bottom of your cabinets, perfect for stashing baking sheets or placemats. Slim pantry pull-outs are another excellent way to utilize narrow gaps between appliances or walls.
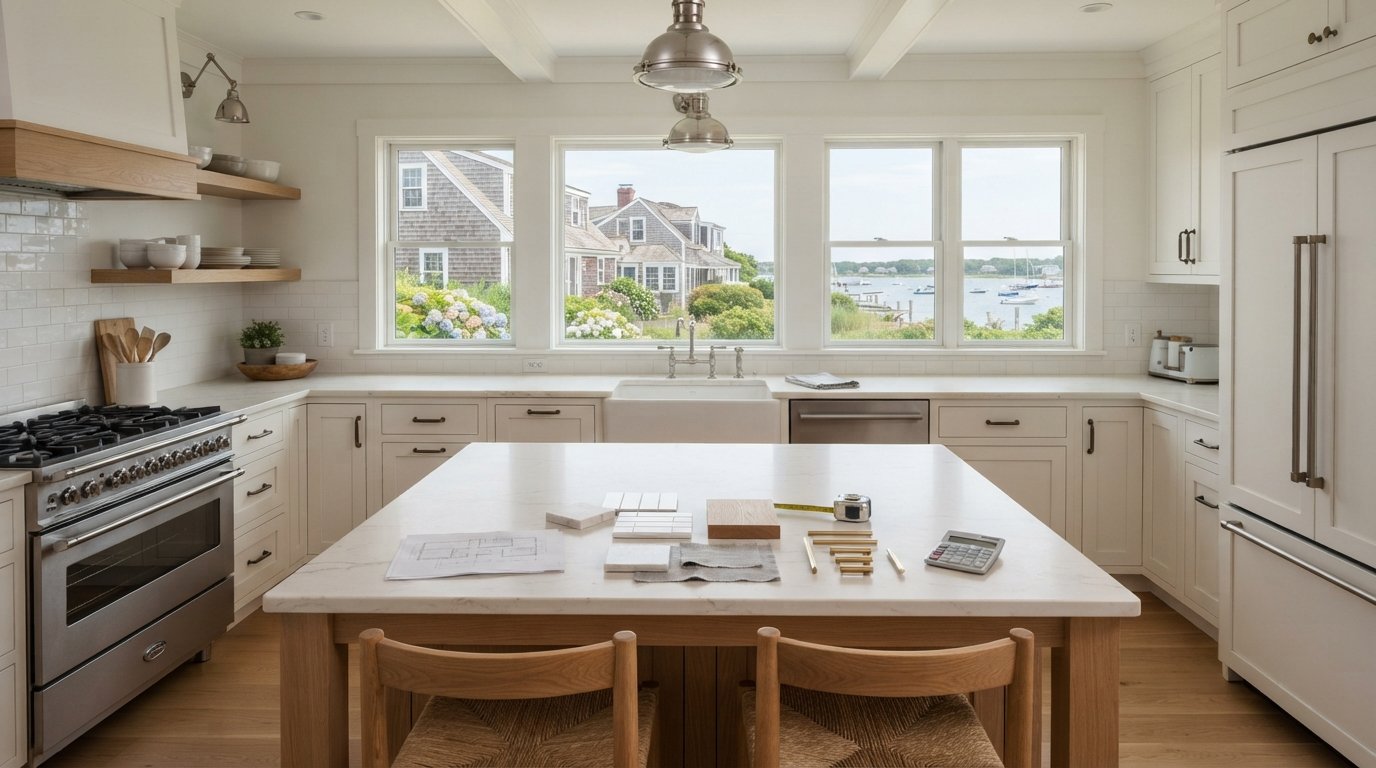
Layouts should also prioritize your home’s relationship with the outdoors. If your kitchen overlooks a garden or the water, position your primary work zones to preserve those views. An island or peninsula in an open concept kitchen design Cape Cod can offer a clear line of sight to the windows while keeping the space social. If these architectural challenges feel overwhelming, you can schedule a professional design consultation to help navigate these quirks and ensure a flawless fit for your new cabinets.
From Blueprint to Reality: Your Cape Cod Project Roadmap
You’ve done the hard work of measuring and mapping your space. Now it’s time to turn that data into a technical blueprint. A professional measurement verification isn’t just a courtesy; it’s your ultimate insurance policy. It guarantees that when your cabinets arrive on a truck in Mashpee or Falmouth, they’ll slide into place exactly as planned. This bridge between your initial sketch and the final order is what prevents costly “on-the-fly” adjustments during the construction phase.
When to Transition from DIY to Professional Design
Moving from a graph paper sketch to a Computer-Aided Design (CAD) rendering is a pivotal moment in your project. If your open concept kitchen design Cape Cod includes complex features like a central island or a breakfast peninsula, you need expert spatial planning to ensure proper clearances. Our “no-showroom” model is a deliberate choice that benefits you directly. Instead of waiting for you to visit a distant office, we focus entirely on your specific home environment. This approach allows us to see the light, the traffic flow, and those architectural quirks first-hand. A designer who understands the exact specifications of US Cabinet Depot RTA products can maximize every millimeter of your cabinet run, ensuring no space is wasted.
Leveraging RTA Cabinets for Quality and Value
High-quality Ready-To-Assemble (RTA) cabinets are the smart choice for the Cape. When comparing lead times, RTA often beats custom builds by several weeks, which is crucial if you’re trying to finish a project before the busy summer season. To avoid the nightmare of a renovation bleeding into peak season, it helps to understand the full kitchen renovation timeline Cape Cod projects typically follow, so you can plan your cabinet order and installation with confidence. These cabinets offer the same solid wood frames and dovetail drawers found in high-end custom shops but at a much more accessible price point. Because they ship flat, the savings on freight and storage are passed directly to your project budget.
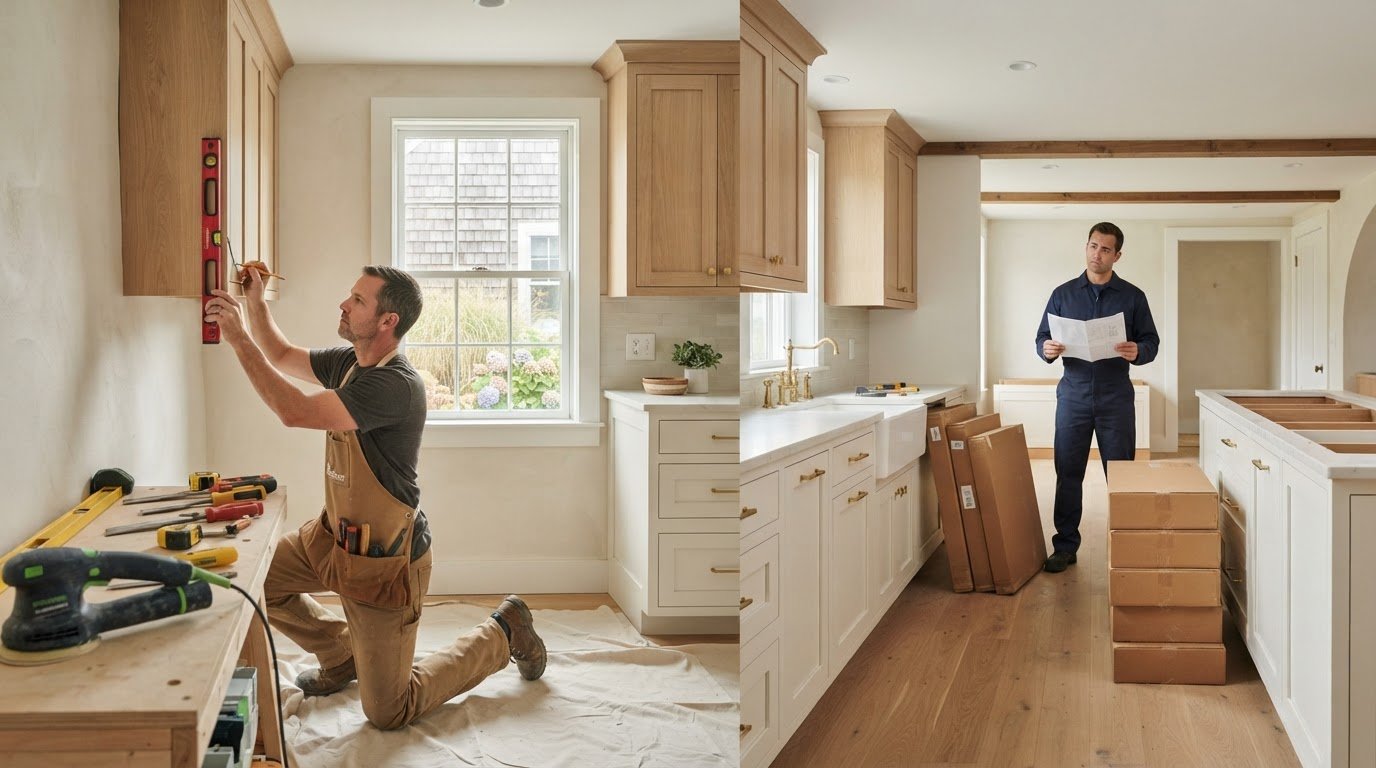
The final decision often comes down to professional cabinet installation Cape Cod versus a DIY approach. While assembling the boxes is a manageable task for many, the actual installation involves leveling, scribing to those crooked walls, and securing the heavy uppers. These tasks are best left to seasoned experts to ensure your cabinets look and feel like custom work. From the moment you finalize your measurements to the day you cook your first meal, the timeline typically spans 8 to 14 weeks. By following this roadmap, your open concept kitchen design Cape Cod will transition smoothly from a vision on paper to the functional, beautiful heart of your home.
Bringing Your Coastal Kitchen Vision to Life
Transforming a dated kitchen into a functional masterpiece starts with a single, accurate measurement. By mastering the technical details of your floor plan and accounting for the unique architectural quirks of our historic coastal homes, you’ve already laid the groundwork for a successful renovation. Whether you’re navigating slanted eaves or optimizing a small footprint, your open concept kitchen design Cape Cod project is now ready to move from a paper sketch to a physical reality.
At Affordable Cabinets of Cape Cod, we’re here to be your partners in this journey. As local experts specializing in high-quality US Cabinet Depot Shaker-style cabinets, we serve our neighbors from Mashpee to Dennis with budget-friendly solutions that don’t compromise on craftsmanship. Our no-showroom model ensures that we focus entirely on your home’s specific needs while passing the savings directly to you. Ready to ensure every cabinet fits perfectly? Schedule your professional kitchen measurement and design consultation today! We look forward to helping you create a space that reflects the beauty and utility of the Cape Cod lifestyle.
Frequently Asked Questions
Do I need to remove my old cabinets before I can measure for new ones?
No, you can accurately measure your space while your current cabinets are still installed. Simply measure the total length of the walls above the existing counters or behind the cabinet boxes where possible. Professional designers account for standard cabinet depths. In older homes across Mashpee and Falmouth, we often look for the “as-built” footprint to identify where plumbing and electrical lines are currently located.
How do I measure for a kitchen island if I don’t have one currently?
Focus on maintaining clear walkways rather than measuring a fixed structure. For an open concept kitchen design Cape Cod homeowners love, you need at least 36 to 42 inches of “buffer zone” around all sides of the island. Use blue painter’s tape on your floor in Sandwich or Bourne to visualize the footprint. Measure from the nearest fixed point, like a wall or base cabinet, to ensure traffic flows easily. If you’re also considering adding seating to your island, our guide on kitchen island with seating Cape Cod design covers the specific clearances and layout strategies you’ll need.
What is the most common mistake homeowners make when measuring a kitchen?
Forgetting to include the window and door trim in their opening measurements is a frequent error. You must measure from the outside edge of the casing to the other side, not just the glass or the door itself. If you don’t, your new Shaker cabinets might overlap the trim, which creates major installation headaches. This is especially common in historic homes in Hyannis where trim is often wider than modern standards.
Should I record my measurements in inches or feet for a cabinet designer?
Always use total inches for your measurements to ensure the highest level of accuracy. Recording a wall as 144 inches instead of 12 feet reduces the chance of a mathematical error during the design phase. Cabinet manufacturers and professional software operate exclusively in inches. When you provide numbers to our team serving the mid-Cape area, using a single unit of measurement ensures your RTA cabinet order is precise and error-free.
How do I handle walls that aren’t perfectly square or level in an old Cape?
Take measurements at three different heights for every wall: the floor, the middle, and the ceiling. Use the smallest dimension as your “safe” number for cabinet runs. In older homes from Pocasset to Brewster, walls often lean over time. You’ll use fillers and shims during installation to bridge these gaps. If a corner is significantly out of square, a professional measurement verification is your best tool to ensure a perfect fit.
What is a “soffit” and how does it impact my upper cabinet measurements?
A soffit is the boxed-in area often found between the top of your cabinets and the ceiling. It usually hides plumbing, wiring, or HVAC ducts that can’t be easily moved. If you have soffits in your Mashpee kitchen, you’ll need to measure their height and depth carefully. This determines if you can use 30-inch, 36-inch, or 42-inch upper cabinets. Many homeowners choose to remove them during a remodel to allow for taller storage.
Do I need to account for the thickness of my backsplash or flooring?
Yes, these dimensions affect your “finished” clearances for appliances and countertops. While the cabinet footprint stays the same, a thick tile backsplash can push a range forward slightly. Similarly, if you’re installing new hardwood flooring in a Centerville home after the cabinets are in, it could “trap” your dishwasher. We recommend measuring from the subfloor and accounting for material thickness to ensure everything has the vertical clearance it needs.
How much clearance is required between the cabinets and the refrigerator?
Most refrigerators require at least 1/2 inch of clearance on all sides for proper ventilation. You also need to account for the door swing. For a successful open concept kitchen design Cape Cod layout, check your specific appliance manual. Some models need several inches of space next to a wall so the crisper drawers can open fully. If your fridge sits at the end of a cabinet run in Falmouth, a filler strip is often necessary.